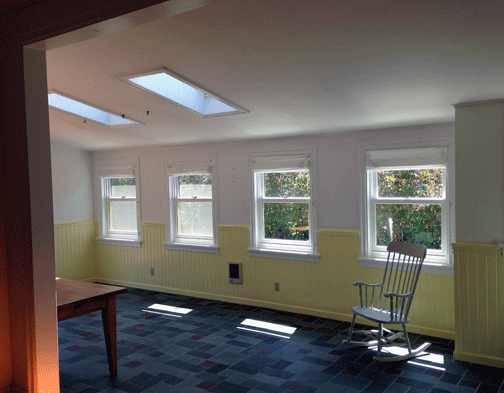
The Party Room and Painting Beadboard
Well….We sure had a lot of yellow beadboard happening in the cottage last summer! All the beadboard wainscoting in the party room and in the front entry was painted yellow. I’m sure it was great, once upon a time, but it was time for a fresh coat of something new.
The color inspiration came from all of that blue-green-grey slate on the party room floor. After scattering a bunch of paint chip samples around, and wandering by at different times of the day, the color that jumped out was Sea Haze by Benjamin Moore.
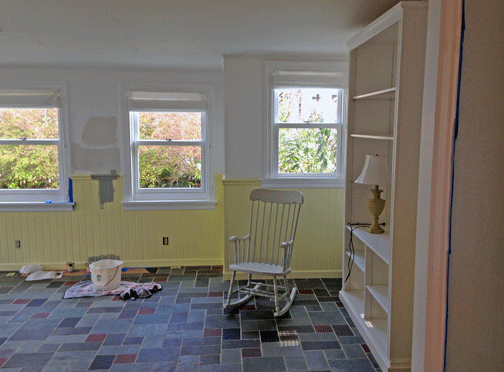
But of course! It is just the nicest shade of mellow greenish-grey and how can you go wrong with a name like Sea Haze in a beach house? Went up to the local paint store – again! – and picked up a sample and put a bit on the beadboard. Looked good so back to the paint store to get a gallon and some other supplies.
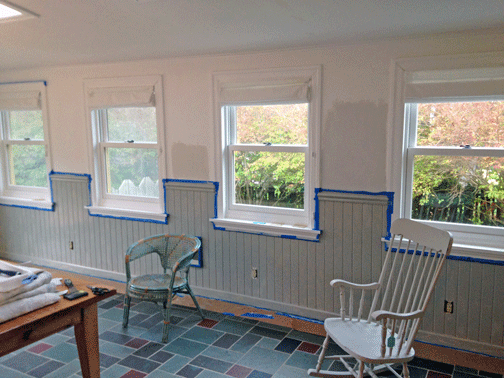
Wow…That is a lot of wainscoting! A dollop of Aspercreme on the lower back along with a glass of wine at the end of Day One was necessary. And at the end of Day Two…and Day Three…. 😉
So…here is the secret to painting trim work and beadboard like this….
- First, if it already has a glossy painted surface, you need to wash it down with some TSP (tri-sodium phosphate). This is not because it is dirty but because the TSP roughs up the surface a bit so the new paint will stick.
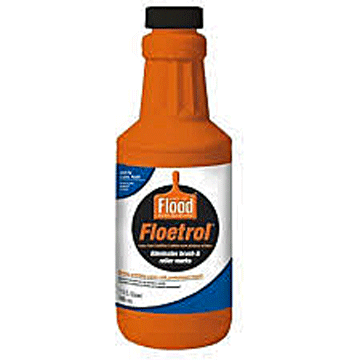
2. You need to use a good latex semi-gloss paint and a special ingredient – Floetrol Paint Conditioner. I couldn’t have done this big job without it! Floetrol “loosens” up the paint so it will go on really smooth and there are no brush marks when you are done – none! It looks like a professional painted it with a sprayer. Love this stuff!
3. And number three….. also very important… a comfortable stool to sit on and an assistant to hand you stuff – Thanks Mom!
This process takes two coats and I let the first coat dry for 24 hours in between coats just because it is so humid at the coast. Over on the dry side of the mountains, in Central Oregon, something like this would have been ready to go after drying over night so it really depends on your climate.
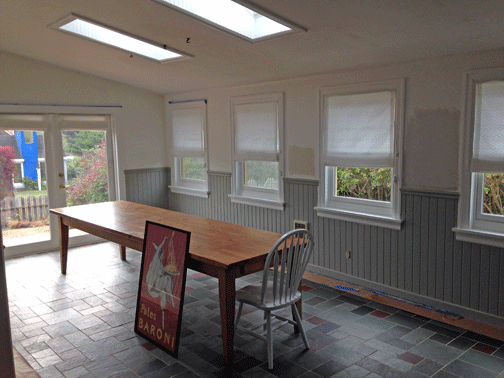
So that’s it! My beadboard looks like new!
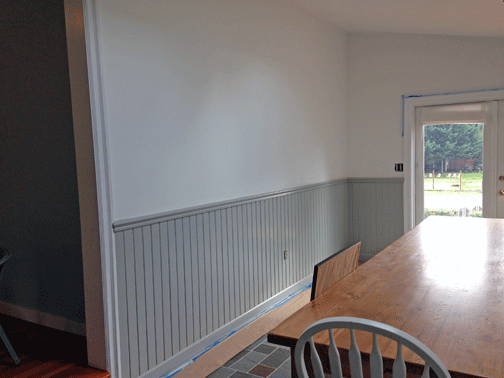
I’m still working on the rest of the walls – I got the first coat of Classic Grey up but still need to do a second coat. Painting around that big shelving unit is also kind of tricky – my arms weren’t quite long enough to reach up at the top so I will need a little help with that!
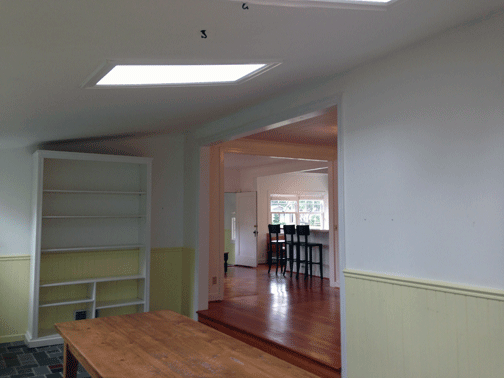
Here are some more updates to come in this room…
-There is no overhead lighting or wall sconces and only a few outlets so this will be a challenge. Perhaps a chandelier ( or two?) that plug in and hang from hooks or maybe a bunch of those cool strings of Edison lights strung about…
-That big shelving unit – it’s actually attached to the wall and not going anywhere so it stays. A fresh coat of white paint or something darker….?
-This room also has another great big wall that needs something awesome and beachy.
I have a few ideas but can always use some more!
– 🙂 –